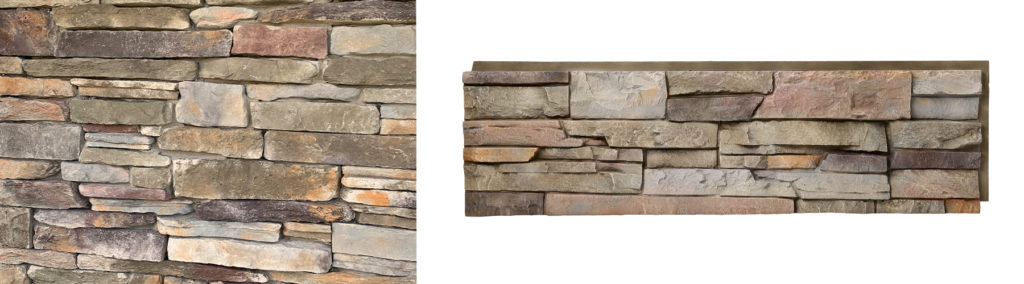
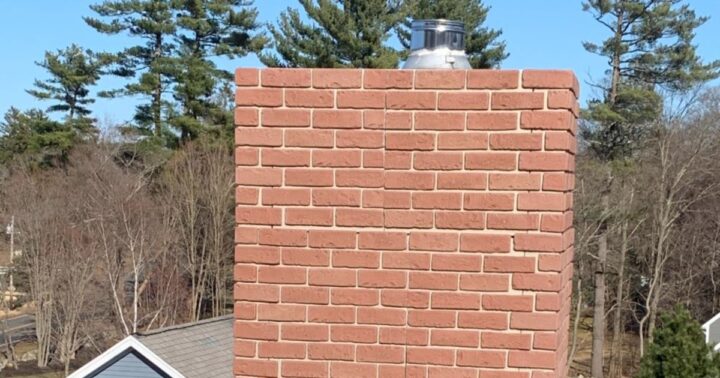
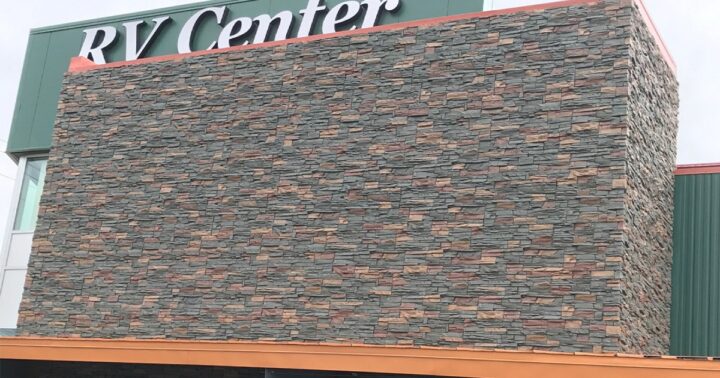
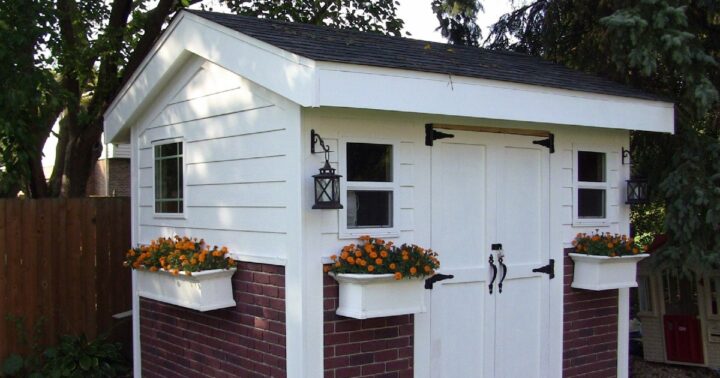
If one of our standard stacked stone or brick colors is not the perfect choice for your project, our custom color program is the solution you’ve been looking for. Start by purchasing a digital sample and upload a picture of your favorite stone or brick. After approving the rendering of your color on our panel, place an order for your materials and we will produce the first panel for approval before manufacturing the remainder of your order.
5 Sample Testing Tips
Using these five easy guidelines will help you evaluate your siding sample
The Complete Guide for Evaluating Your Sample
If you’re considering GenStone for your improvement project, ordering a sample of one of our faux stone or brick veneer panels is a great way to figure which color will work best for your property. This is true whether you’re considering an exterior or interior project. There’s simply no substitute for seeing how the panel’s colors compliment or bring out the existing colors throughout your property.
Sure you can simply hold the sample up in the improvement area for a few seconds or get a thumbs up from your spouse, but we recommend taking it a few steps further to ensure you select the best color for your project.
Tip 1: Compare It to the Alternatives
Our stacked stone panels are cast from molds created with natural stone materials and our brick veneer is produced with molds developed from real tumbled brick. Our meticulous fabrication process ensures authentic shapes and texture. After the panel is cast, it makes its way in front of our artists, which is the most important segment of our production line. Each panel is hand painted by an artist using 12 coats of premium paint to eliminate repetition and to make certain every product maintains its authentic look.
We’re not only certain you will not find a better looking faux stone or brick panel, we invite you to compare our panels to real stone or brick.

The slightly darker stone in the top half of the image is a section of a Desert Sunrise panel compared to a quarried stacked stone product. The hand painted GenStone mimics the natural weathering and the matte appearance of the real stone.
GenStone Custom Color Samples
Tip 2: Temporarily Install the Sample
Getting familiar with the texture, look and even the durability of GenStone is important, but temporarily installing a GenStone sample is one of the best uses of a 12” x 12” sample.
If you’re not ready to put holes in your wall or you are not 100% sure you will be covering up the area in the near future, try using two-sided Velcro to temporarily view your GenStone sample on a wall. Next, try out the installation process by attaching the panel to a cardboard box. Using a cardboard box will allow you to experience fastening the panel to another surface without putting any holes in a wall. If the sample installation goes smoothly, you can consider doing the project yourself without the help of a professional.

This Iron Ore sample was fastened to the cardboard box with two drywall screws 8" apart and one drywall screw in the face of the panel as outlined in the installation guide. Drywall screws are recommended for interior projects over sheetrock, while deck screws are required for all exterior projects.
Tip 3: Move the Sample Around Your Property
GenStone is a versatile product that can be used throughout your property. Test it out everywhere you plan to improve and at different times of day. Direct sunlight can make the highlights throughout the panel pop while shadows may cause you to choose a lighter color panel. Whether a room or section of your property receives consistent lighting conditions or it varies throughout the day, you can be confident your choice will be visually appealing at any time.
A good fit can become great if you take the time to assess all of your options. Our visualizer tool will help you take this a step further by showing you what the project would look like completed. More on our visualizer below!
Tip 3: What Questions Do You Want to Answer?
Most GenStone customers start with a 12” x 12” (1 SQFT) sample to evaluate the weight, texture, installation and durability of the panel. This traditional sample size will allow you to assess these characteristics, but if you are wanting to experience the full color profile, we strongly recommend purchasing one full (42” x 12”) panel. The 1 SQFT sample is a portion of a full panel and may or may not contain the color highlights found throughout the entire panel.

What About Brick Samples?
Our 12″ x 12″ Chicago Classic and Deep Red brick samples will contain all of the colors found throughout the panel. Our Multi Color brick on the other hand, contains a combination of Classic and Deep Red bricks. Therefore, we suggest purchasing one half panel of Multi Color brick if you want to fully evaluate the combination of colors. We also recommend buying a half panel of any brick color if you are looking to see how each brick panel interconnects.
Tip 4: Consider the Seasons
Red and brown leaves can pile up quickly in the fall. Does your sample accent or clash with the colors of the season and your landscaping? As the seasons change, so do the colors surrounding your property. If your sample looks a little bland against the white snow of winter, consider its appeal when surrounded by colorful flowers and trees.

Tip 5: Use the Visualizer
Take a photo of your improvement area and upload the image to our project visualizer. The picture should be the highest resolution possible and free from movable obstructions like a hose reel or lawn furniture. The visualizer works equally well for both exterior and interior projects.