Get Ready for Spring with DIY Faux Stone Planters
How To Build Planters Using Faux Stone Panels
Are you already imagining those first few buds of Spring? If you’ve got a green thumb and you’re interested in adding some zest to the look and feel of your planters, you’ve got to check out faux stone. It’s an affordable, durable exterior surfacing method that can be applied to virtually any flat area (including the sides of planters). Faux stone is also incredibly resilient, making it ideal for use with outdoor applications.
Buying, sizing, and applying faux stone is easy. At GenStone, we’ve seen some incredibly creative ways to use our faux stone products to construct durable, natural-looking planters that complement virtually any design aesthetic.
To kick off the gardening season, why not incorporate some of these ideas for DIY faux stone planters? They’ll be a hit at your next garden party. What’s more, they’ll look great in combination with your other GenStone faux stone surfaces!
Two Approaches to Building Faux Stone Planters
Depending on the style you’re going for and the size of the planters you’d like to use, you might want to consider two different methods for constructing your own faux stone planters.
Method number one is the ‘Full Build’ method, where the planter itself is built using a concrete mix.
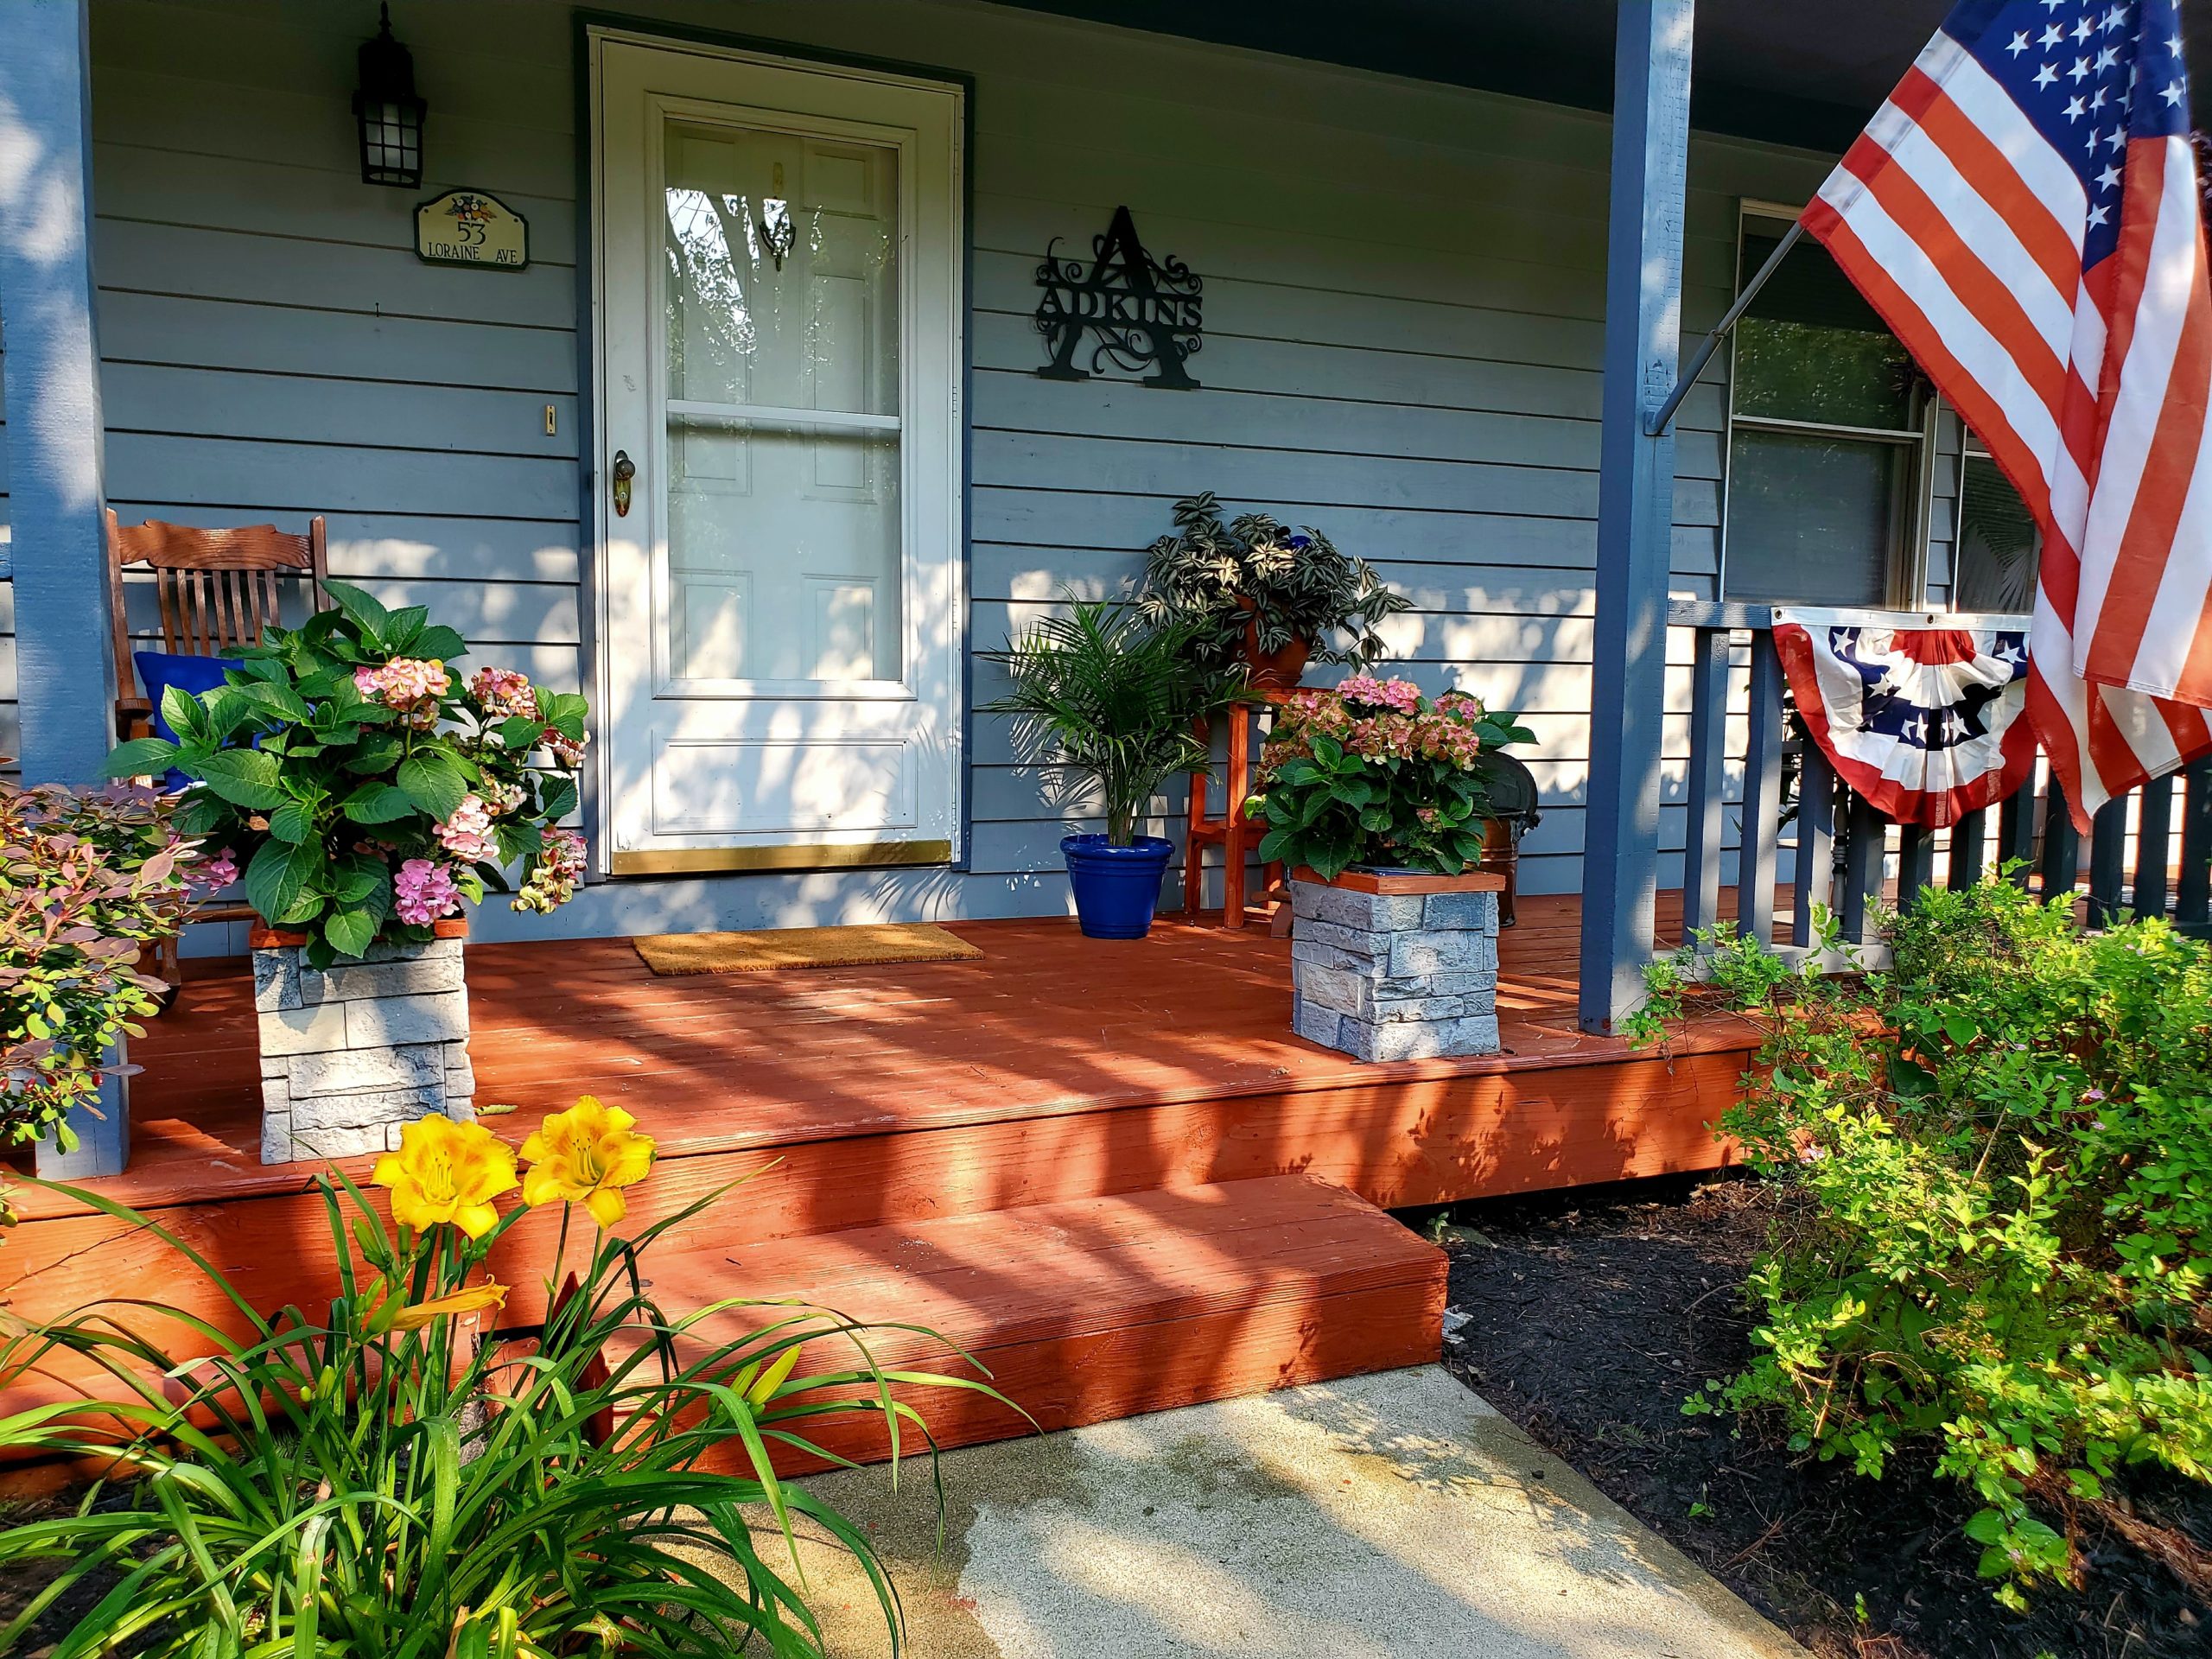
Method number two is the ‘Partial Build’ method, which uses an existing, store-bought planter as a base for adding faux stone.

DIY 'Full Build' Planters
To build a faux stone planter from scratch, you’ll want to acquire three ingredients:
- Portland Cement Mix (this is the type of cement, not the origin). This is very cheap—80 pounds of it shouldn’t cost more than a few dollars.
- Perlite. This is located in the gardening section of most hardware or nursery stores. Perlite is commonly used to aerate soil, but we’ll be using it to add a natural, rustic look to the planter.
- Peat Moss. This ingredient adds a raw, earthy texture.
You’ll also need a large mixing bowl, personal protective equipment, and some disposable cups or bowls to use as molds.
To begin, you’ll want to mix equal parts concrete mix, water, perlite, and peat moss together in the mixing bowl. Be sure to use gloves and protective eyewear when doing this.
Once you’ve achieved a uniform mixture, the slurry will now be ready to pour into molds. Pour the faux stone mix into a cup or bowl of your choice, and then gently push another cup or bowl inside of your mold, creating a cavity where the plants will live.
After this step is complete, it’s time to encase the mold inside a plastic bag and set it outside to cure.
The cement curing process could take as long as 4 weeks. Once complete, you’ll be able to remove the mold, peel off the disposable bowls/cups, and place your plant of choice inside your new faux stone planter!

DIY 'Partial Build' Planters
The second method for constructing DIY faux stone planters involves two easy steps.
First, you’ll want to buy the square-shaped planter of your choice from your local hardware or nursery store. Try to find ones that have straight, right-angled sides, which will make the application of the faux stone veneer much easier.
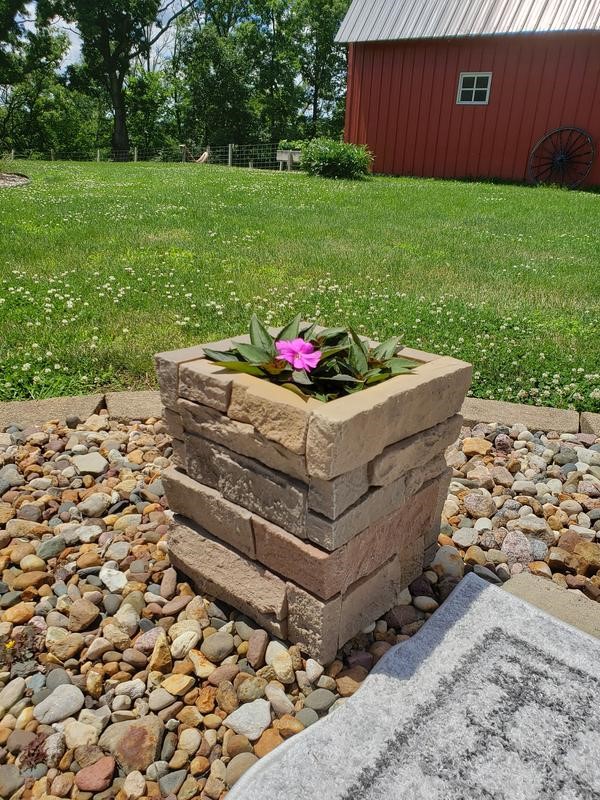
Second, you’ll need some faux stone from GenStone. If your planter is of the larger variety, a full panel or two might be needed. For smaller planters, make use of any of our faux stone trim.
Using the industrial-grade adhesive of your choice, simply apply the prefabricated faux stone paneling to the surface of the planter. Let dry for 48-72 hours before planting.
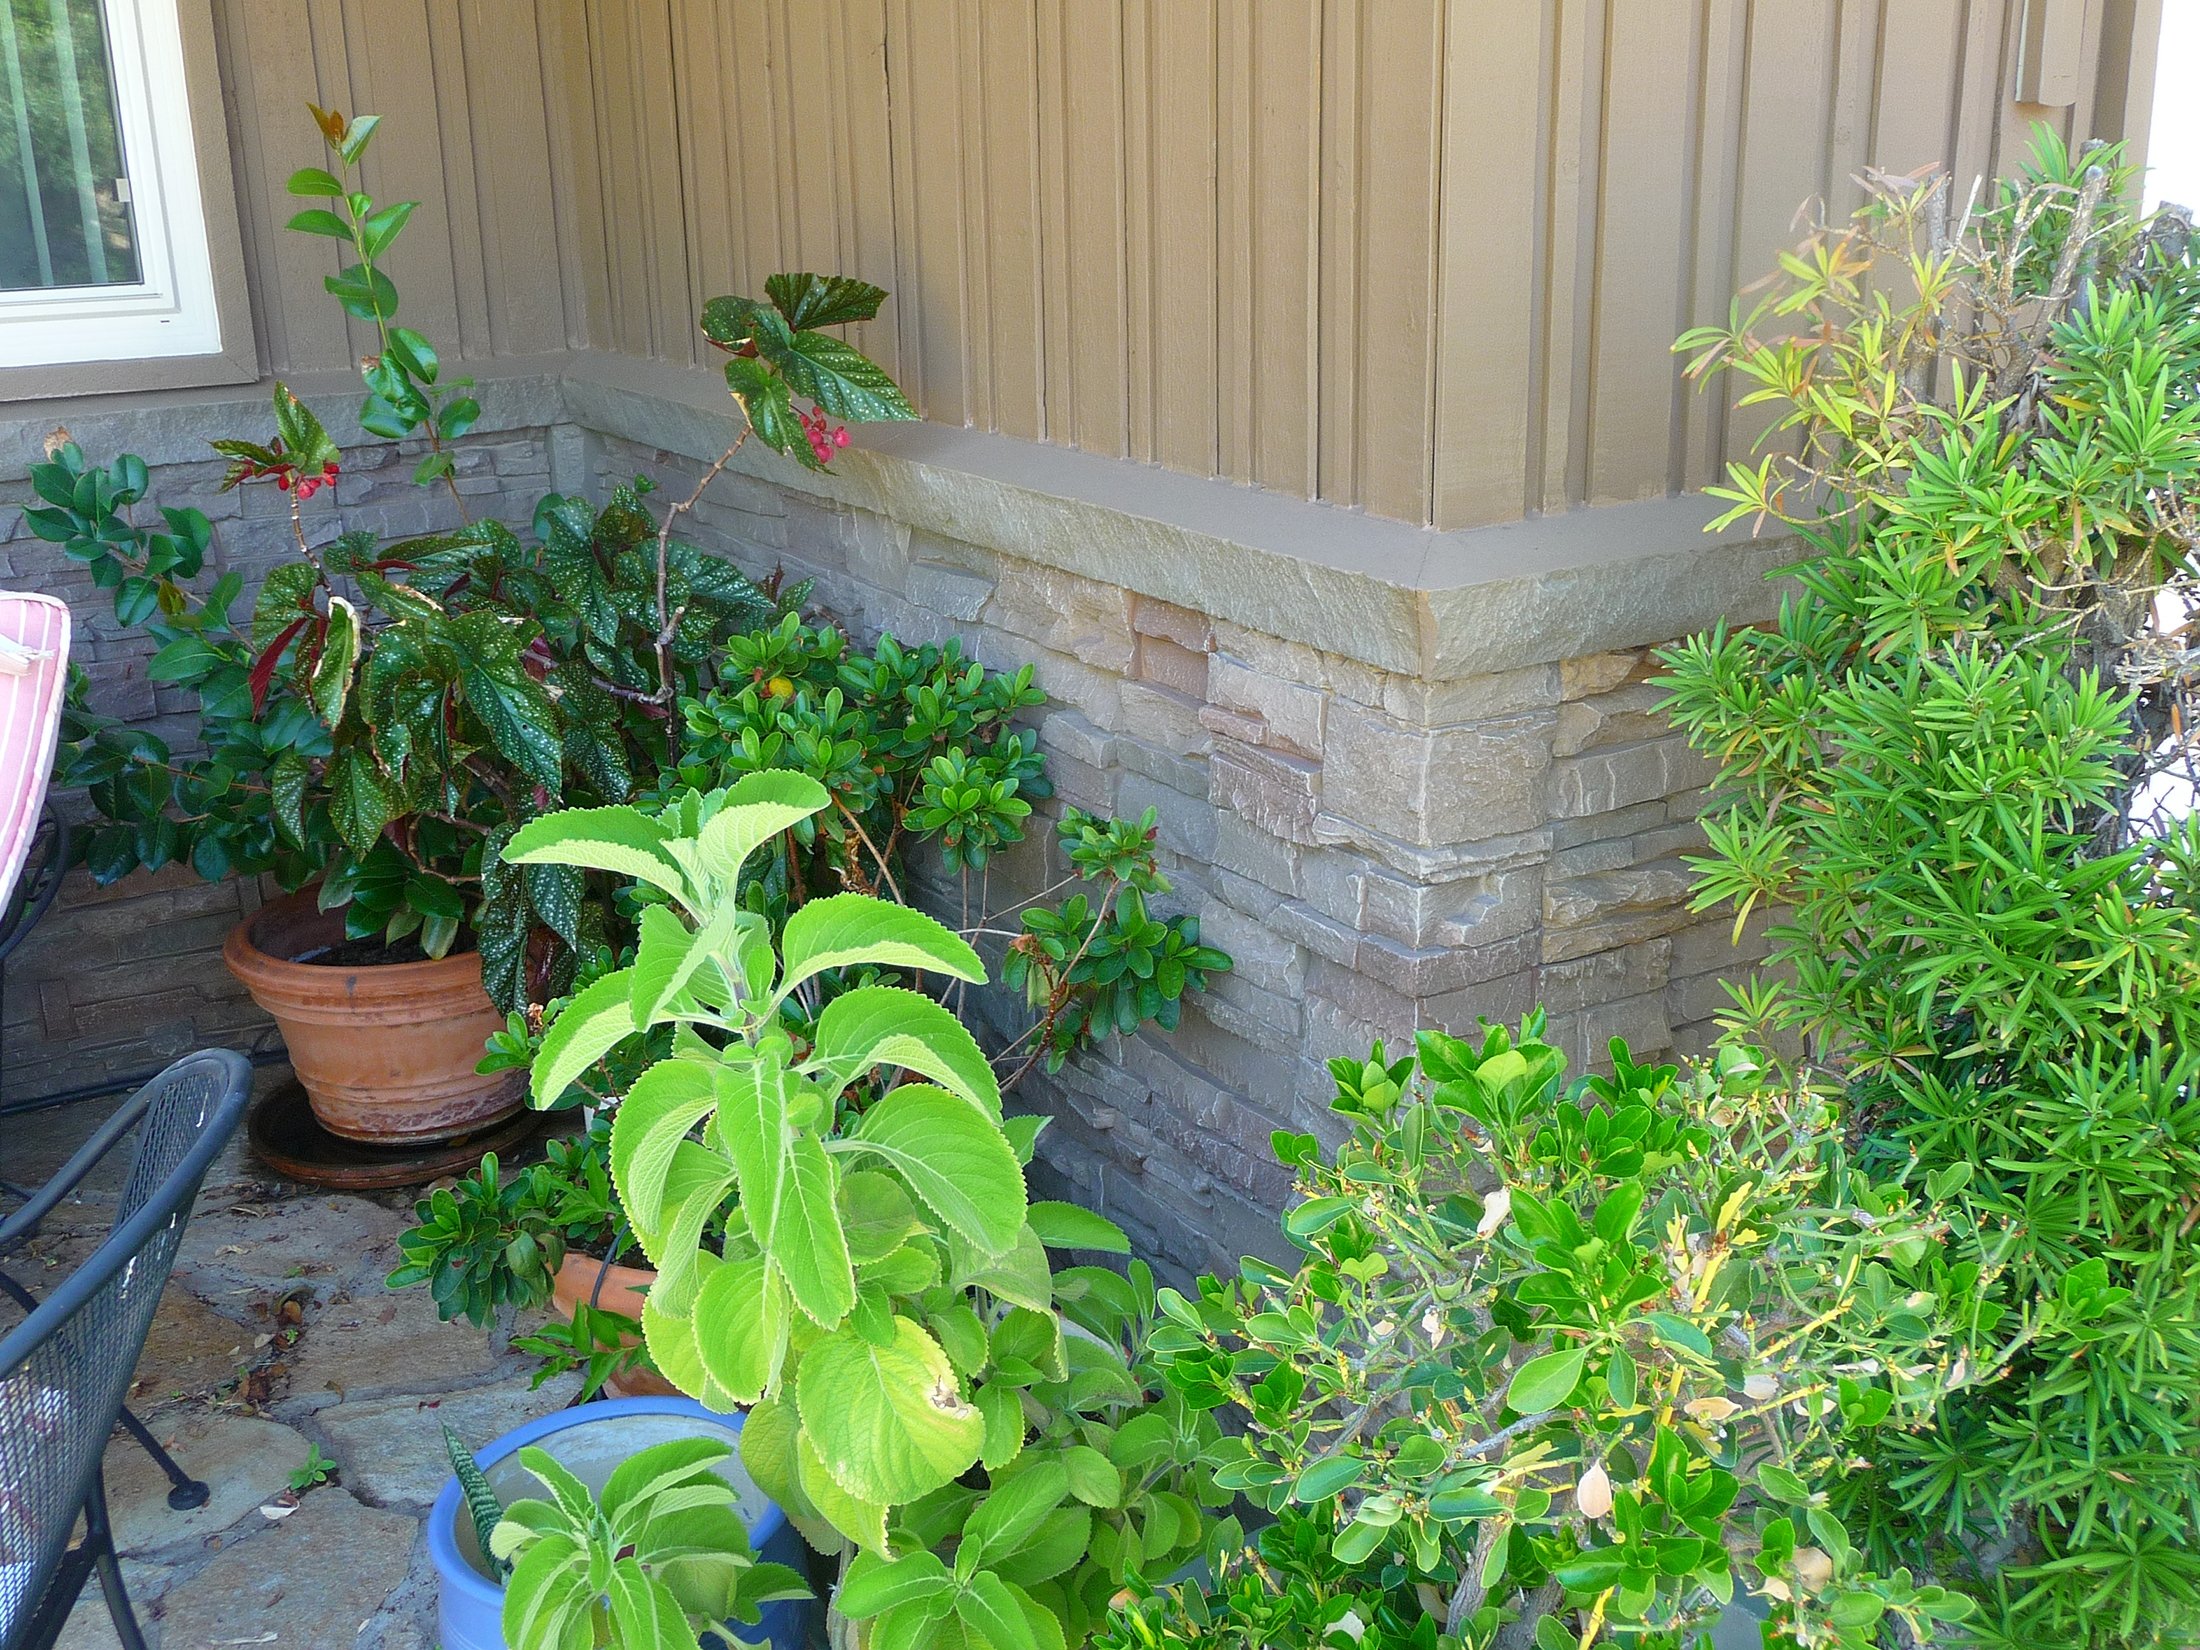
Use this method to match your planters with the GenStone faux stone you already have installed inside or outside your home. Remember that you can customize the look of your faux stone by applying a little oil-based paint of your preference. Get artistic with it, and make the look your own.

Love Your Planters All Year Long
The best part about making your own faux stone planters is that you can enjoy them year-round!
Use them for house plants or indoor herb gardens. They make a fantastic addition to any indoor or outdoor space, and they’ll go a long way in helping to complete the bold, natural look that stone provides.
Do you have a creative faux stone idea? We want to hear about it! Drop us a line and let us know how you use the look of faux stone to achieve your design dreams. We look forward to hearing from you!
