How to Use Faux Stone Column Wraps on Porch Posts
Why settle for boring, traditional porch posts when you can add some design flair with faux stone panels from GenStone?
Using high-quality, durable faux stacked stone, you can transform ordinary porch posts into natural-looking stone pillars that provide an enhanced overall look and feel for your porch. The next time you host a barbecue or get-together, everyone will be asking how you managed to build your porch supports out of stone, but only you will know the secret: GenStone!
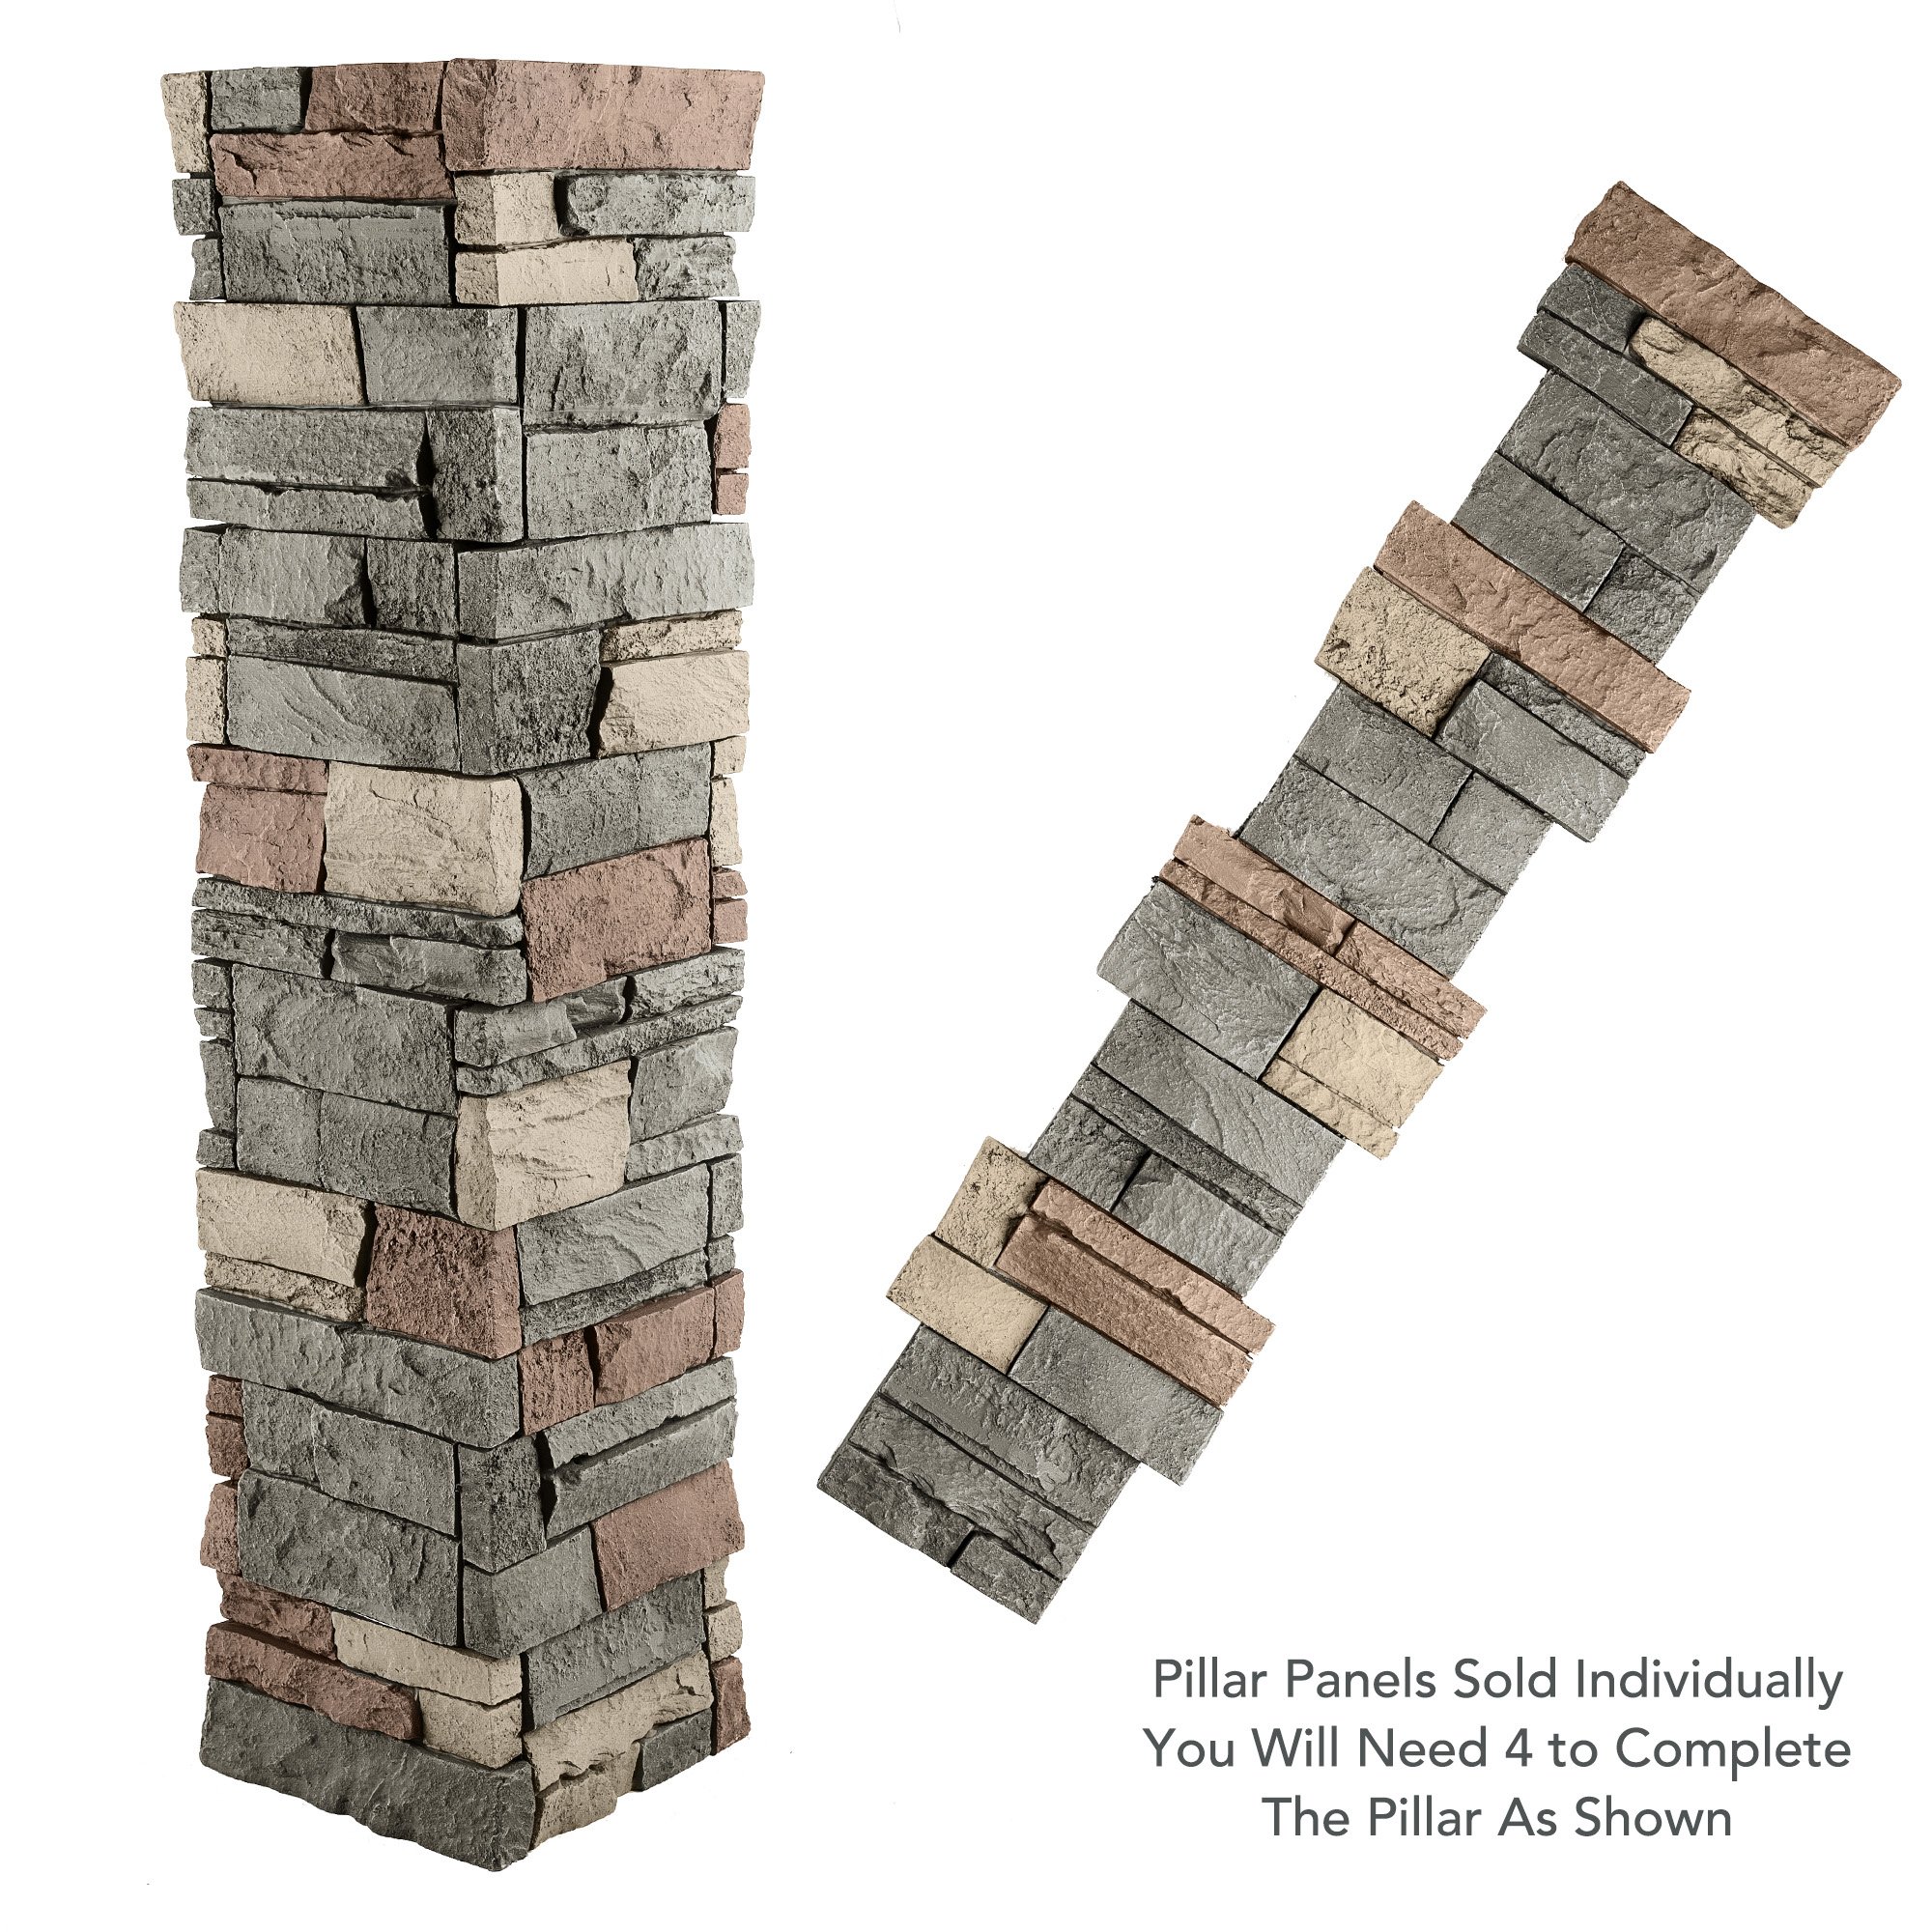
Adding a faux stone veneer to porch posts is a lot easier than you may think. GenStone offers a broad variety of color options to choose from, and installation is a snap thanks to pre-kitted stacked stone pillars.
In this article, we’re going to explain how you can use faux porch stone wraps to upgrade the aesthetic of virtually any porch with columns supporting it. And, here’s the best part: this project can be completed in just a few hours!
To complete the look of natural stone without the cost and mess of using real stone materials, there are a few steps you’ll need to take in preparation.
They are:
- Deciding on color, placement, and accessories (peaked or flat caps)
- Taking measurements
- Acquiring the correct installation hardware
- Preparing the area for faux stone panel installation
Let’s take each of these steps one-by-one.
Choosing the Color, Placement, and Accessories
GenStone offers six stacked stone pillar colors to choose from: Kenai, Keystone, Stratford, Desert Sunrise, Iron Ore, and Coffee. See here for a brief comparison of these stone column wrap color options.
We recommend using color-matched caulking where necessary—you can place an order for the caulk you need by working directly with us at GenStone.com.
Remember that your porch posts don’t need to be completely wrapped with faux stone panels from top to bottom. One option is to just cover the lower sections of each post, as seen in this DIY porch column covers project completed by one of our customers.
Lastly, you’ll want to determine if you’d like to use peaked or flat caps to complete the rise of your faux stone panels. This isn’t necessary, but many find that using these caps can add a touch of elegance to the overall project.
Taking Measurements
GenStone faux stacked stone pillars are made to work with 8” posts. If your posts are larger than 8”, you’ll want to forego the use of our pillar kits and stick with full panels themselves.
If your porch posts are smaller than 8”, simply add a layer or two of plywood to thicken them in preparation for installation.
After you’ve done this, measure the height of your posts. Keep in mind that GenStone stacked stone pillar kits are 48” in height (without caps). If you want to completely wrap your posts from top to bottom, be sure to order enough pillar kits to adequately cover each post.
Get the Hardware You Need
For exterior installation of GenStone faux stone products, you’ll need:
- 1.625” or similar-sized deck screws
- PL adhesive
- Caulking gun that will accommodate a 10-ounce caulking tube
- A framing square
- A handsaw
- A level
- Sandpaper
- Gloves and safety glasses
Oh, and you’ll obviously need your GenStone faux stone pillar kits; don’t forget those!
It’s important to thoroughly clean every porch post before installing your pillar kits. Also, it may help to layout the faux stone panels next to each post, just to give you a visual as to which panels are going to go where.
Keep in mind that GenStone faux stone panels can be easily cut to size, and if you are going to do any cutting, prepare the area accordingly.
Time for the Installation
Once you’ve completed the above-listed steps in preparation for your GenStone stacked stone pillar installation, it’s time to get to work!
Starting from the bottom of each post, place the GenStone panels in a configuration that allows for interweaving of the edges. These pillar kits are designed to be used in just this way, making panel placement intuitive.
Using your non-corrosive deck screws, securely attach each panel from the bottom working up. As you do so, ensure accurate leveling before driving any screws. As for the placement of the screws, choose areas of the panel that are shaded by the natural ledges.
If you have any questions or need support during your installation, don’t hesitate to reach out to us directly by visiting our contact page.


