Add Character to a Room with a Faux Brick Wall
Are you looking for a creative, easy way to add some pizzazz to a room in your home?
GenStone suggests adding a faux brick accent wall with top-to-bottom brick veneer paneling that installs quickly, affordably, and without the mess of traditional brick.
This project is not just cost-effective and quick; it’s also a terrific way to inject some character into that room in your house that could use a little ‘something’, design-wise.
To help you get started, GenStone is here to help with the materials, tips, and support you need to complete this project without having to hire any outside help while getting it done in just a few short hours!
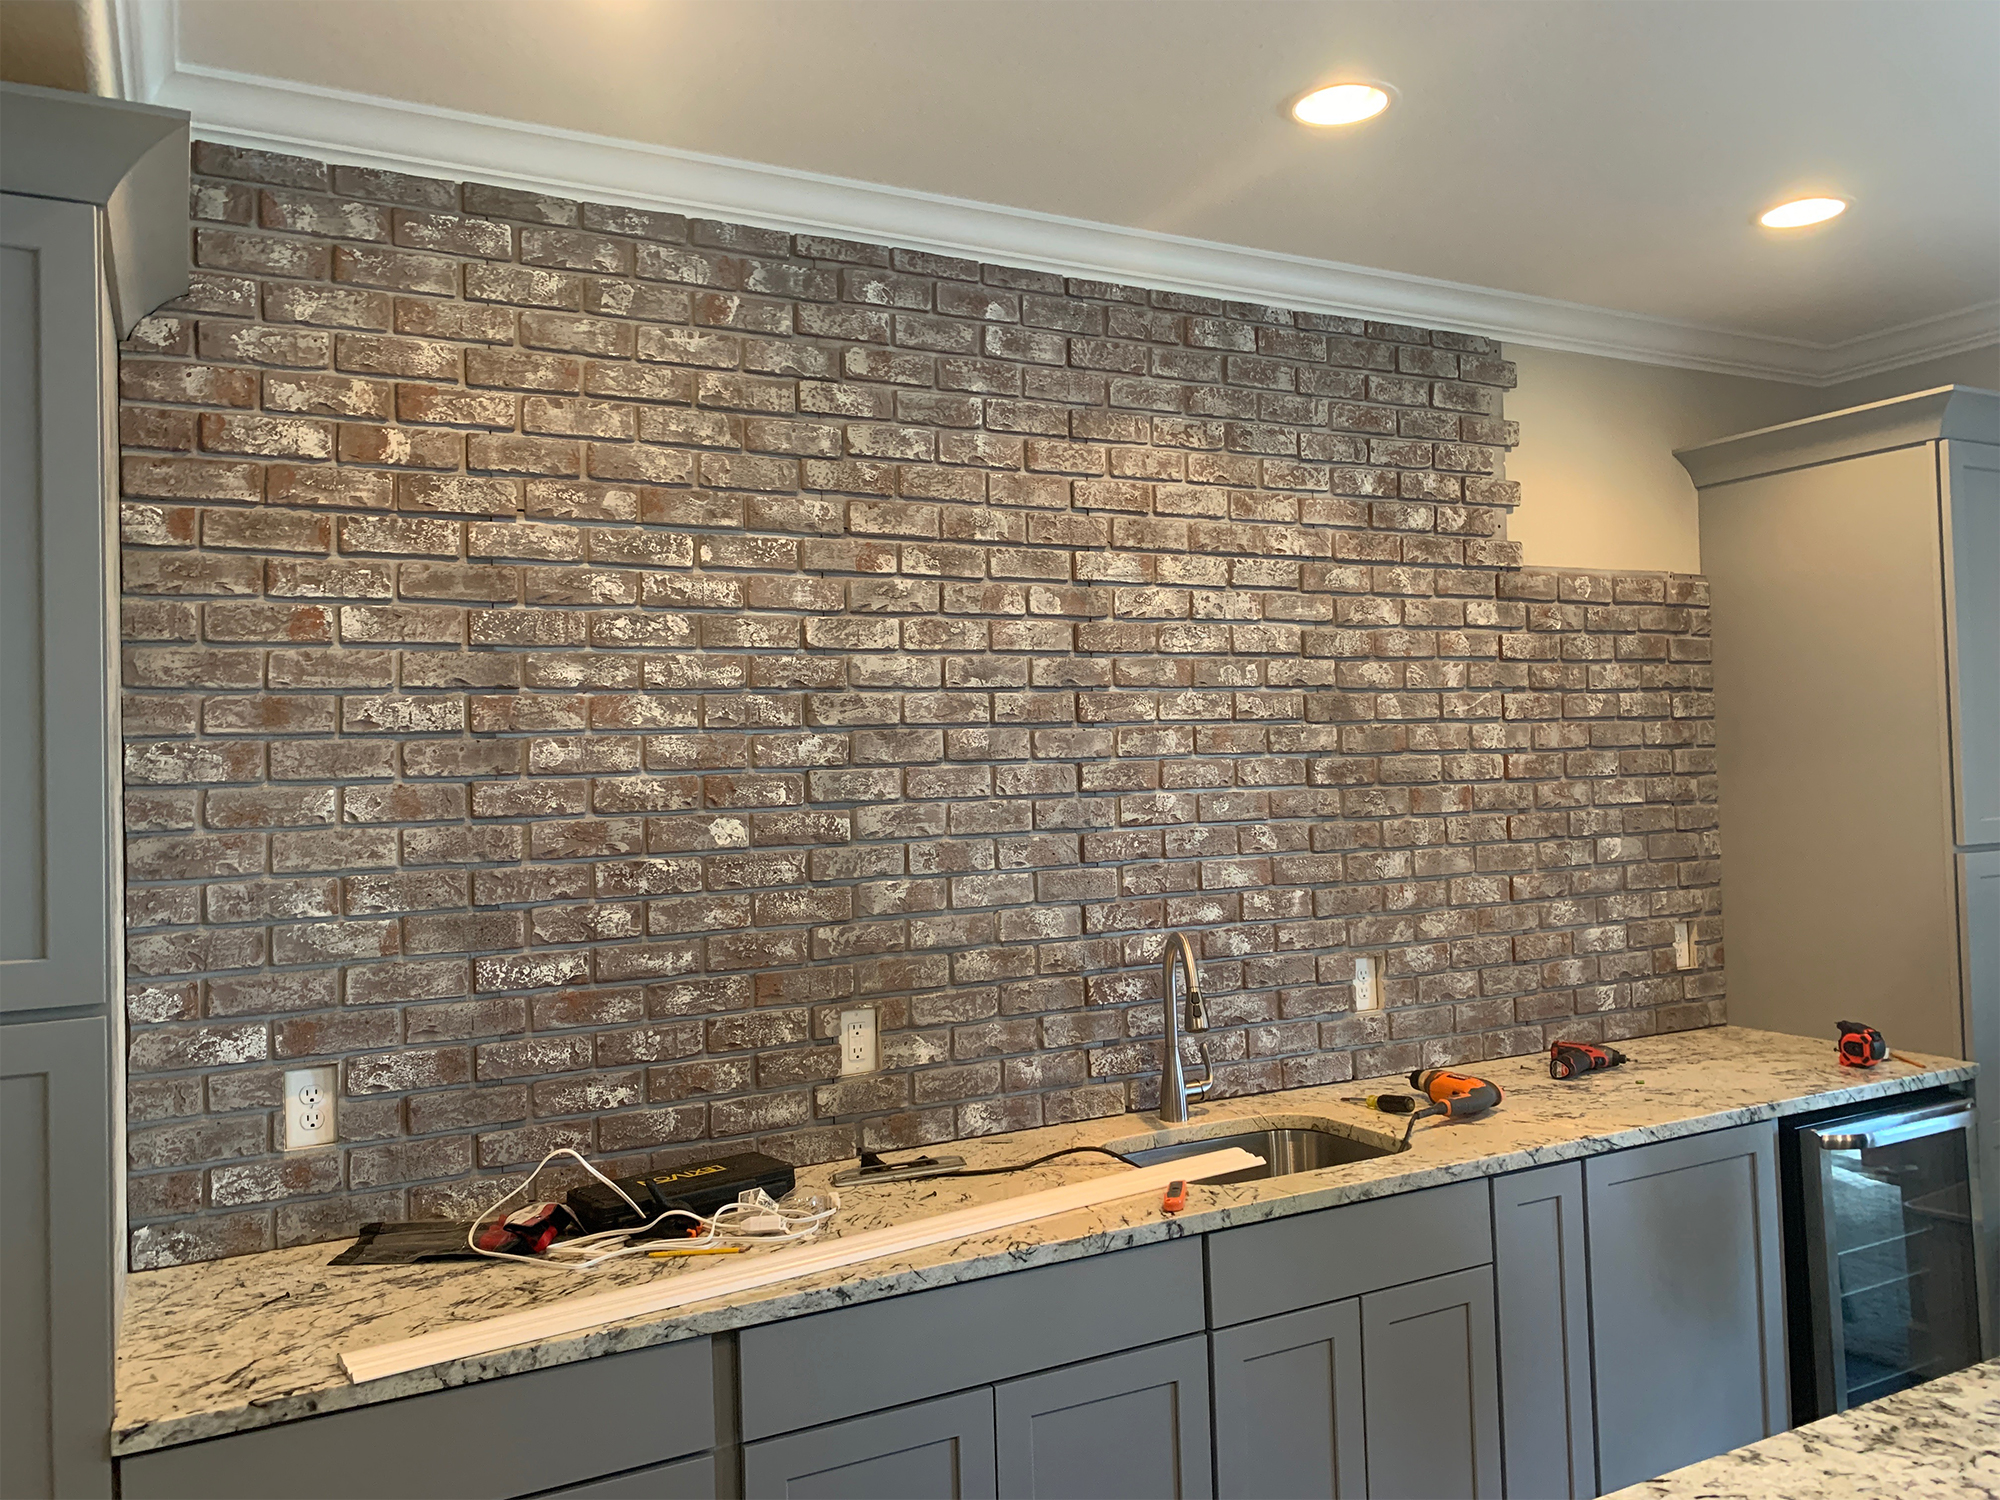
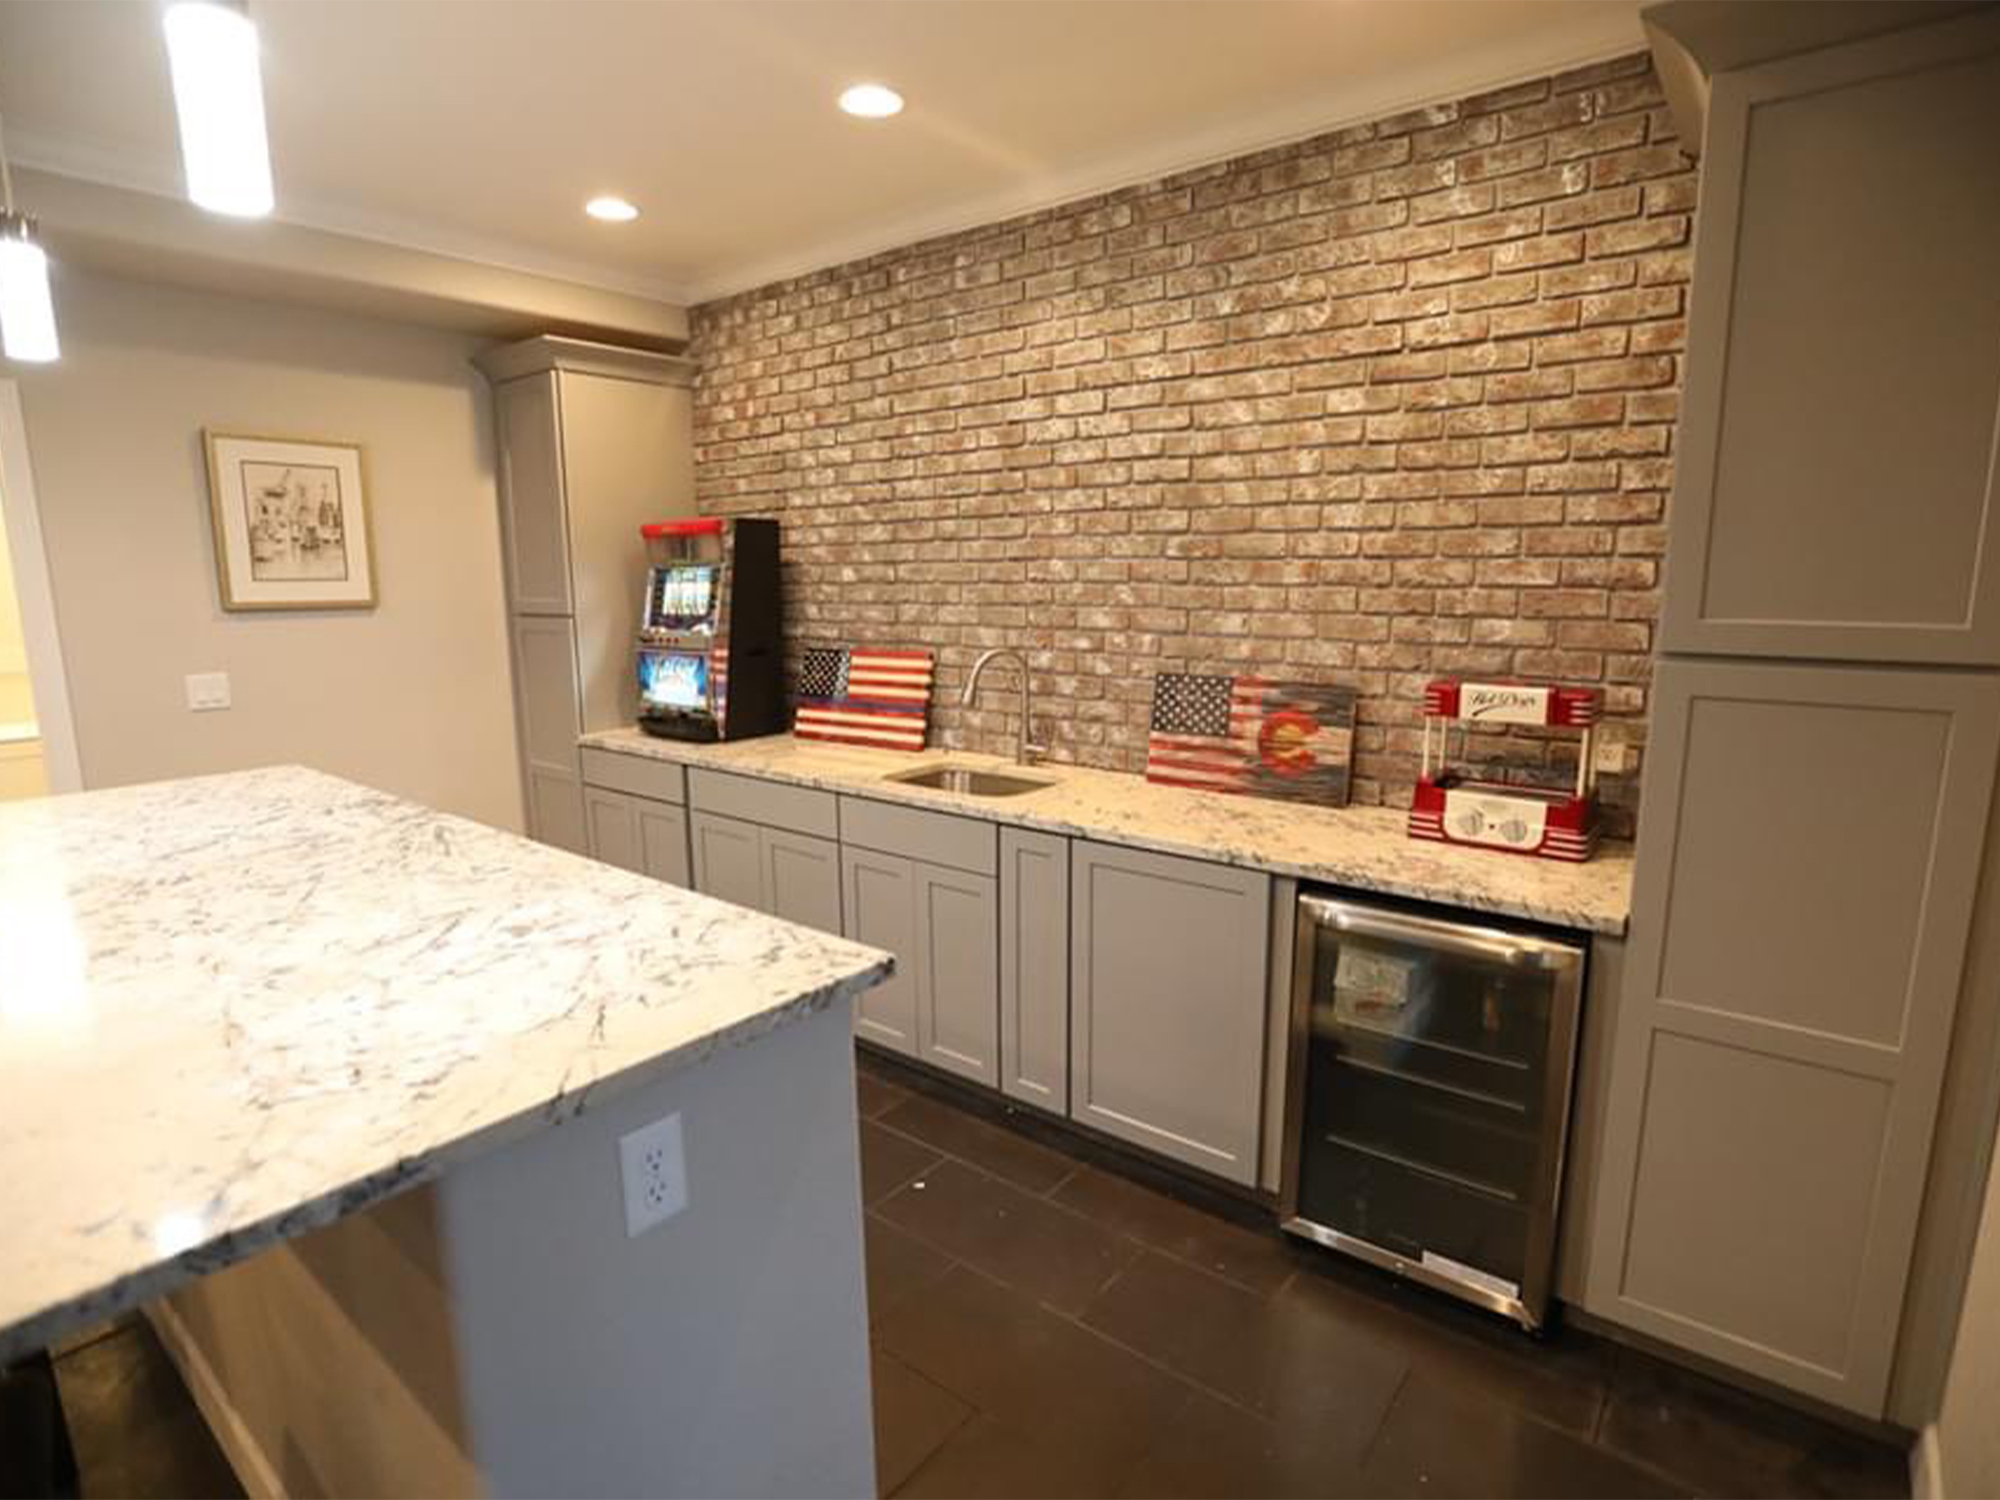
In this project, we’re going to walk you through an example of how an otherwise plain and boring wall can be brought to life with the addition of brick veneer paneling manufactured by the leader in faux stone and faux brick products: GenStone!
What Is Brick Veneer?
Brick veneer is a manufactured type of indoor or outdoor surfacing that is designed to replicate the natural look of offset brick. To achieve this, real bricks are used to create an injection mold that is then used in the creation of durable, lightweight, and easy-to-install faux brick panels.
To make sure that the brick veneered wall of your choice best suits the design aesthetic of your home, GenStone offers four varieties of faux brick panels:
- Chicago Brick. Giving off a kind of industrial-yet-homely vibe, the Chicago Brick veneers from GenStone give you the ability to add stark contrast to virtually any indoor space.
- Classic Brick. When you think about what a typical brick wall might look like, this is it! It’s straightforward, bold, and authentic-looking.
- Deep Red Brick. Rich burgundy and red wine tones come through in this faux brick panel type. This is the perfect fit for a more subdued, understated look.
- Multi-Colored Brick. For the artsy, expressive accent wall, multi-colored brick veneers can’t be beat!
Now that you know what your design options are, let’s move on to the planning, preparation, and installation phases.
Planning
During the planning phase, it’s important to run through the checklist of the things you’ll need before you get started with the actual installation. This install checklist can come in handy, especially for first-timers who are new to the GenStone product line.
[Remember that our support team is always available to help with any questions you have along the way! Just call us at 1-800-425-0788.]
A full brick veneer panel from GenStone measures 22.25” x 22.25”, with a .5” shiplap edge on the top of each panel. Half panels measure 22.25” L x 11.50” H, with the same .5” shiplap edge found on full panels. See our “How to Measure” guide for a visual representation of both.
Preparation
To prepare your wall for the addition of faux brick panels, remove any nails, brackets, or fixtures you don’t want to keep as part of the wall.
For power outlets or other obstacles, you’ll need to cut room for them in the brick panels themselves.
Also, most faux brick walls do away with top and bottom crown moulding, although it’s entirely up to you whether or not you leave them in place.
The final stage of preparation involves laying out the panels you want to use in front of the wall in question. This will give you a good idea of which panel needs to go where, and in what order.
Installation
After you’ve chosen the brick veneer panels you’d like to use, sized them appropriately, and prepared the area for installation, it’s time to install!
Here are the installation steps:
- Start your panel run from the lower left corner of the wall. Be sure to countersink the shiplap screws 8” apart. It’s helpful to use a level as you work to ensure consistent placement.
- Be sure to use face screws on the undersides of the protruding brick, ideally where shadows fall. GenStone offers color-matched caulking that we suggest you use after installing the screws. Remember that adhesive is not necessary, and standard drywall screws will work just fine!
- As you make your way from the bottom to the top of the wall, cut the top-most panels to size. This can be easily done with a hand saw, circular saw, or band saw. Remember to keep your scrap pieces, as they can be used to fill gaps along the way.

That’s it! By following the three steps above, you can turn your drab interior wall into a fun, attractive faux brick wall that adds character to any room. Good luck!

